One of the most common issues I run into in the knitting discourse is a fundamental misunderstanding of gauge. If you have knit anything, you have certainly seen gauge listed on the pattern. But do you truly know what that measurement means?
In today’s post, I will go over everything you need to know about gauge. What it is, why it’s important, and how to measure your gauge. After reading this post, you can say goodbye to ill-fitting sweaters and accessories!
What is gauge?
When we talk about gauge in knitting, we are referring to the number of stitches and rows in a given area. Usually, gauge will be written something like this ‘18 stitches and 24 rows = 4 inches (10 cm). That means if you knit at the specified gauge and cast on 18 stitches and knit 24 rows, you will end up with a 4in x 4in square.
Why is gauge important?
In knitting, gauge is a measure of how big your stitches are. By measuring the gauge, you can tell how big a finished item will be.
When it comes to knitting garments, gauge is critical. If you are following a pattern, but not meeting gauge, your finished garment will not fit as intended. Knitting a sweater without checking your gauge first is like throwing a dart blind folded; some of the time you will luck out, but most of the time you’re going to miss wildly.
‘But, I just knit to gauge.’
No, no, you don’t because that’s not a thing.
The biggest gauge misconception I see is that some knitters just knit to gauge. I think this idea comes from the myth that knitting gauge is standardized across patterns. However, the gauge listed on the pattern is just the gauge that the designer got when they were knitting the pattern sample.
Knitting pattern designers are human beings, not machines. They don’t knit to some magic standard gauge. When they are knitting, they have all the same gauge idiosyncrasies that other knitters do.
So if you knit a pattern from designer A and meet gauge with the recommended needle size, that doesn’t mean you don’t need to swatch for patterns written by designer B. All it means is you have the same gauge as designer A when using that specific yarn, on that specific stitch pattern, with those specific needles.
How to Knit a Gauge Swatch
Knitting a gauge swatch can be a daunting process. There are multiple factors to consider, but once you understand the steps, the process is straightforward.
First, look at your pattern
You need to know what stitch pattern the designer used for the gauge measurement. You don’t want to knit your gauge swatch in stockinette if the measurement is for cables or lace.
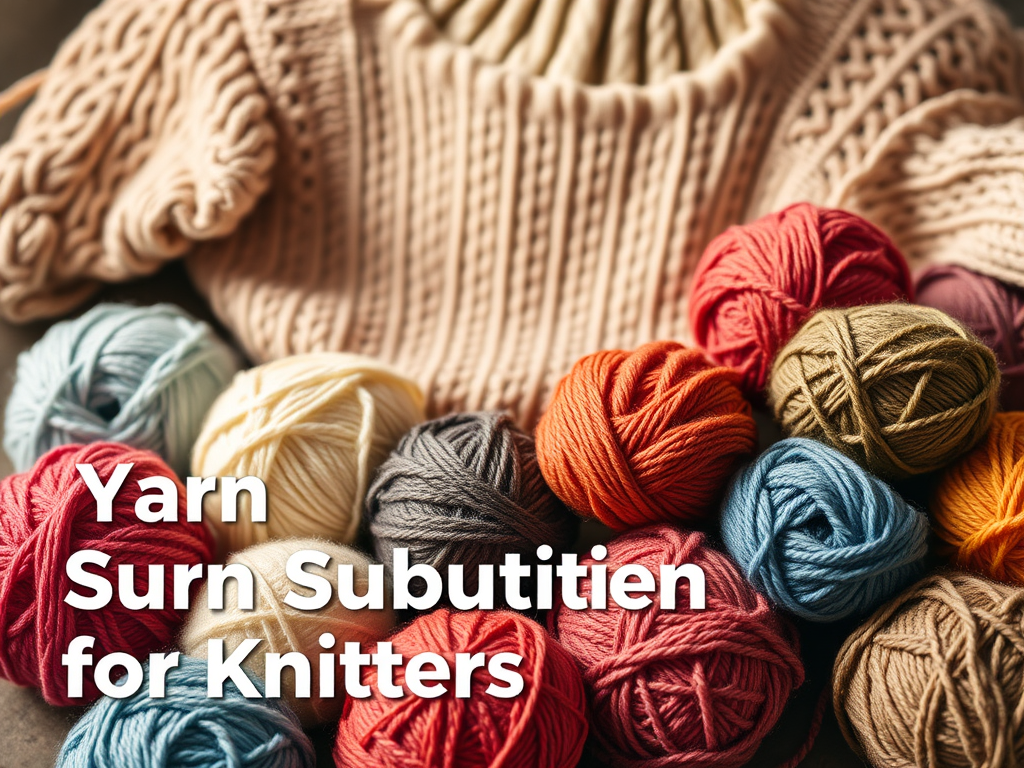
You also note the recommended needle size and the yarn weight listed in the pattern. (If you don’t want to use the recommended yarn, there are some factors you need to consider. Check out my post on yarn substitution.)
Gather your supplies
Different yarns knit up at different gauges. Even if they are in the same yarn weight category. So it’s important to make sure your gauge swatch is knitted in the yarn you plan to use for your sweater.
I’ve also found that my gauge varies a bit depending on the type of needles I’m knitting with. I knit tighter when I knit with metal needles than I do when I use wooden needles. Make sure you use the knitting needles you plan to use for the garment.
Casting on
In order to get the most accurate gauge measurement, you want your gauge swatch to be bigger than four inches on each size. I typically knit my gauge swatches to be about five inches by five inches. Look at your pattern to determine the number of stitches you need to make a five-inch square.
Knit flat or in the round?
Many knitters find that their purl gauge and their knit gauge are different. This can affect their row gauge when knitting flat. If this is you, then you may want to knit your gauge swatch in the round instead of flat.
However, for most knitters, the difference is minimal. Also, many sweater patterns include both knitting flat and knitting in the round. Most of the time, I knit my gauge swatches flat, even if the sweater is knit in the round. There is not a big enough difference in my purl and knit gauges to warrant knitting a gauge swatch in the round.
Blocking your gauge swatch
Many knitters make the mistake of skipping this step. I get the appeal. Blocking your swatch often adds days to the swatching process, but this step is crucial to getting an accurate gauge measurement.
If you have ever blocked a knitted garment before, you know that it changes the fabric. The stitches are straighter and more even. The garment lies flat, and everything is kind of smoothed over.
Blocking your swatch is important for two reasons. First, blocking often changes the characteristics of the fabric. Gauge often changes after blocking. If you want your blocked sweater to fit, you need to base your needle choice on the gauge after blocking.
Second, blocking your swatch gives you an idea of how the final fabric will look once the sweater is finished and blocked. Do you like the way it looks? If you don’t, it’s best to find that out before you take the time to knit the entire sweater.
Measuring gauge
There are a few different gauge rulers on the market. I have one from Twice Sheared Sheep, and I like it. The ruler helps my dyslexic brain focus on the boundaries of the stitches.
Fancy rulers are a nice-to-have, but they aren’t necessary. I am going to teach you how to measure gauge accurately with supplies you already have.
To measure gauge, all you need is your swatch and something to measure with. A solid ruler is easier to work with than a flexible measuring tape, but both will do.
Lay your blocked swatch on a firm, flat surface. Place your ruler on top of the swatch and line up the 0 marking with the outside edge of one of the stitches. Count each stitch between 0 and the 4 inch mark. Repeat this process to measure your row gauge.
What if I don’t meet gauge?
So you’ve knit your gauge swatch and measured, but your gauge doesn’t match what the designer listed in the pattern. Now what? This is a nuanced conversation.
If your stitch gauge matched the designers, but your row gauge was different you can most likely proceed with little fanfare.
When your stitch gauge doesn’t match it is generally best to switch needle sizes regardless of whether your row gauge matches. If you had too many stitches per 4 inches increase your needle size. If you had too few stitches per 4 inches decrease your needle size.
Putting it all together
Knitting a gauge swatch is an important part of the knitting process. While it may be tempting to skip this step getting gauge is key to knitting well fitting garments.


Leave a comment