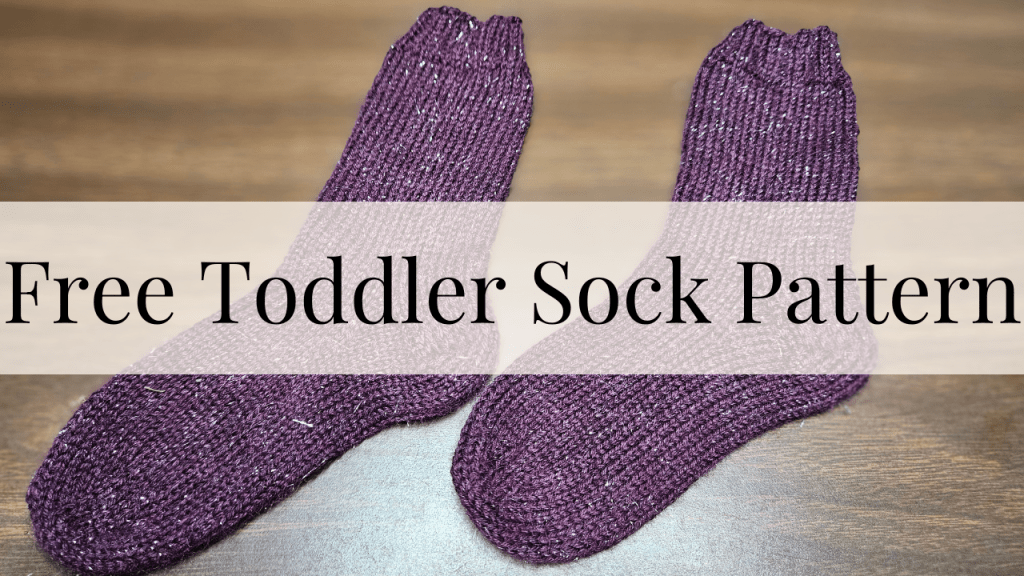
There are few things more cozy than a pair of hand knitted socks. This cuff down sock pattern is a quick and easy knit that your little one is sure to love! Keep reading for the sock pattern that had become a staple in my toddler’s wardrobe.
Materials
Before you get started make sure to collect all of your materials. This is a simple pattern so you won’t need a ton of notions or special tools. There are just a few essentials that will make your socks a success!
- Sock yarn (Knit Picks Stroll is my favorite!)
- US 2 (2.75 mm) 32 in circular knitting needles
- Scissors
- Tape Measure
- Tapestry Needle
Gauge
The gauge for this pattern is 32 stitches X 40 rows = 4 inches (10 cm). A lot of people mistakenly believe that gauge is not important for accessories. When it comes to socks nothing could be farther from the truth.
While socks aren’t as big or time consuming to knit as a sweater they are still a garment that is meant to be worn on the body. If you don’t meet the gauge specified in the pattern your socks won’t fit the recipients foot!
Pattern
This pattern is written for magic loop. There are many great tutorials on youtube.
Cuff
Cast on 40 stitches using the German Twisted Cast On. Arrange stitches so that you have 20 stitches on the front needle and 20 stitches on the back needle. Work 8 rounds of 2×2 rib.
Leg
Knit in stockinette stitch until the leg measures 4 inches from the cast on edge.
Heel flap and gusset
The heel is worked over only half of the stitches.
Heel Flap
- Set up Row: K2, *s1, k1* repeat from * until the last stitch k1
- Row 1 (WS): S1 purl wise, purl to end
- Row 2 (RS): S1, K1 to last stitch, k1
- Repeat rows 1 & 2 until the heel flap measures 1.5″ inches, ending with a right side row.
Heel Turn
- Row 1 (ws): S1, Purl 10, P2tog, p1, turn
- Row 2 (RS): S1, Knit 3, ssk, k1, turn
- Row 3 (WS): S1, purl to 1 stitch before gap, p2tog to close gap, p1, turn
- Row 4 (RS): S1, knit to 1 stitch before gap, ssk to close gap, k1, turn
- Repeat rows 3 & 4 until there are no more heel stitches to be worked
- End with row 4
Gusset
Pick up and knit one stitch for each of the slipped stitches along the left side of the heel flap, knit across the stitches for the top of the foot, then pick up and knit the slipped stitches along the right side of the heel flap.
Arrange your stitches so that the 20 stitches for the top of the foot are on one needle and the heel stitches, as well as both sets of picked up stitches are on the other needle. You will need to count the total number of stitches you have for the bottom of the foot.
The heel and gusset stitches are going to be referred to needle 1 and the top foot stitches are going to be referred to as needle 2.
Decreases
Work the decreases as follows.
Round 1: K1, ssk, knit to 3 stitches before the end of needle 1 k2tog, k1, knit across the top foot stitches
Round 2: Knit all stitches.
Repeat rounds 1 & 2 until there are 20 stitches on needle 1 and 20 stitches on needle 2.
Foot
Knit all rounds until the foot measures 1 inch less then the total desired length for the foot, including the heel flap & gusset.
Toe
The toe is shaped with decreases and then grafted together with the Kitchener stitch.
Round 1: K 1,ssk, k to last 3 stitches on needle 1, k2tog, k1, k, ssk, k to 3 before end of needle 2, k2 tog, k1
Round 2: Knit all stitches
Work rounds 1 & 2 a total of 3 times. Then work just round 1 until 8 stitches remain on each needle. Graft the stitches together using the Kitchener stitch.


Leave a comment